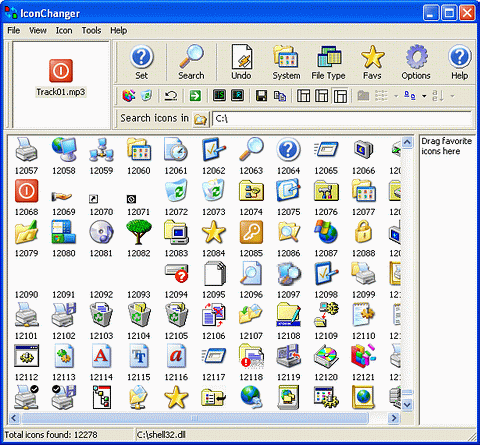
IconChanger's window has 2 main panes, 2 additional panels (optional) and the status bar. Click on any part of image below to find out more about it.
Object box contains
the object(s) whose icons will change.
You can launch IconChanger for multiple objects.
You should choose (All selected objects)
to set/undo icons for all selected objects/types. You can change the icon of
each object/type separately.
Icon pane displays the icons within the file selected in the File pane or the results of the icon search. It is the main pane of IconChanger. Choose an icon in the Icon pane and click the Set button to assign this icon for the object. You can delete icon(s) from the Icon pane.
You can add icons to Favorites pane ( lower-right pane). Drag attractive icons from the Icon Pane to the Favorite Icons pane so you can have quick access to them later.
Toolbar, located at the top of IconChanger window, consists of a number of buttons. Click here to learn more about toolbar buttons.
Status bar
displays the total count of the icons found and the name of the file
containing a selected icon.
![]()
You can turn on 2 additional panes: Folder Pane and File Pane. Click the ![]() button on the toolbar if you want to see the File pane. Click the
button on the toolbar if you want to see the File pane. Click the ![]() button on the toolbar if you want to see the Folder pane.
button on the toolbar if you want to see the Folder pane.
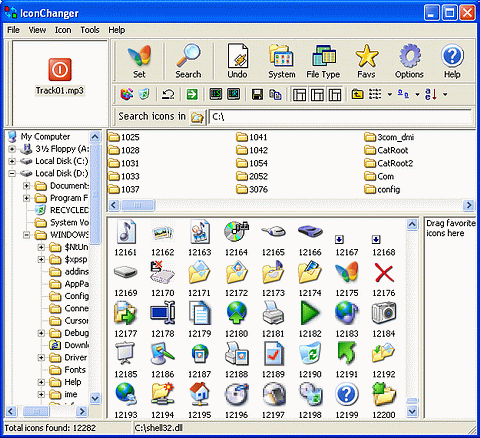
Folder pane (left
pane) displays the folder hierarchy of your file system. A context menu will
be shown when you click on a folder with the right mouse button. You can easily
start searching in the desired folder by clicking the right mouse button on
it and choose ![]() from the context menu.
from the context menu.
File pane (top-right pane) displays the files
within the current folder, which have passed through the file
filter. The files are filtrated depending on the extension and the presence
of icons. You can enable or disable the display of folders in the File pane.
![]() Tip
Tip